Planning Your Farm Gate Project
Before you google how to build farm gates, stop and think about what this gate must actually do. A cattle gate on a Free State plot is not the same as a security gate for a Winelands smallholding. The span, the hinge load, the ground clearance. They all shift with the application.
Walk the line where the gate will sit. Study the slope. Feel how the wind hits that gap. In South Africa, the prevailing weather can twist a poorly braced gate into scrap within two seasons. So take stock before cutting timber or welding joints.
Here is what belongs on your worksheet:
- Measure the opening at its widest point, where the posts will sit.
- Confirm the main function: livestock control, vehicle access, or pedestrian flow.
- Test the soil type for post installation, from clay to sandy loam.
That list pushes you to face the realities of your site. Skip it, and you are guessing. Guessing is how gates sag, drag, and fail. The planning phase decides whether you truly know how to build farm gates with confidence.
Materials and Tools for Farm Gate Construction
In South Africa, a farm gate takes more abuse in a year than most city cars see in a decade. That is why choosing the right materials matters before you even pick up a spanner. For how to build farm gates that last, galvanised steel pipe is the core material. It resists rust, handles the highveld sun, and withstands sudden storms. Timber remains a classic option, but treat it with creosote or a quality wood preservative first.
Your toolbox needs to be as tough as your materials. Gather these essentials:
- Angle grinder with cutting discs
- Welding machine, ideally an inverter unit
- Measuring tape and chalk line
- Post hole digger or auger
- Level and plumb bob
Each tool has a job, and skipping one invites sloppy work. A solid gate also demands hinges, latches, and concrete for the posts. Get those details right, and the gate will swing true for years.
Step-by-Step Gate Frame Assembly
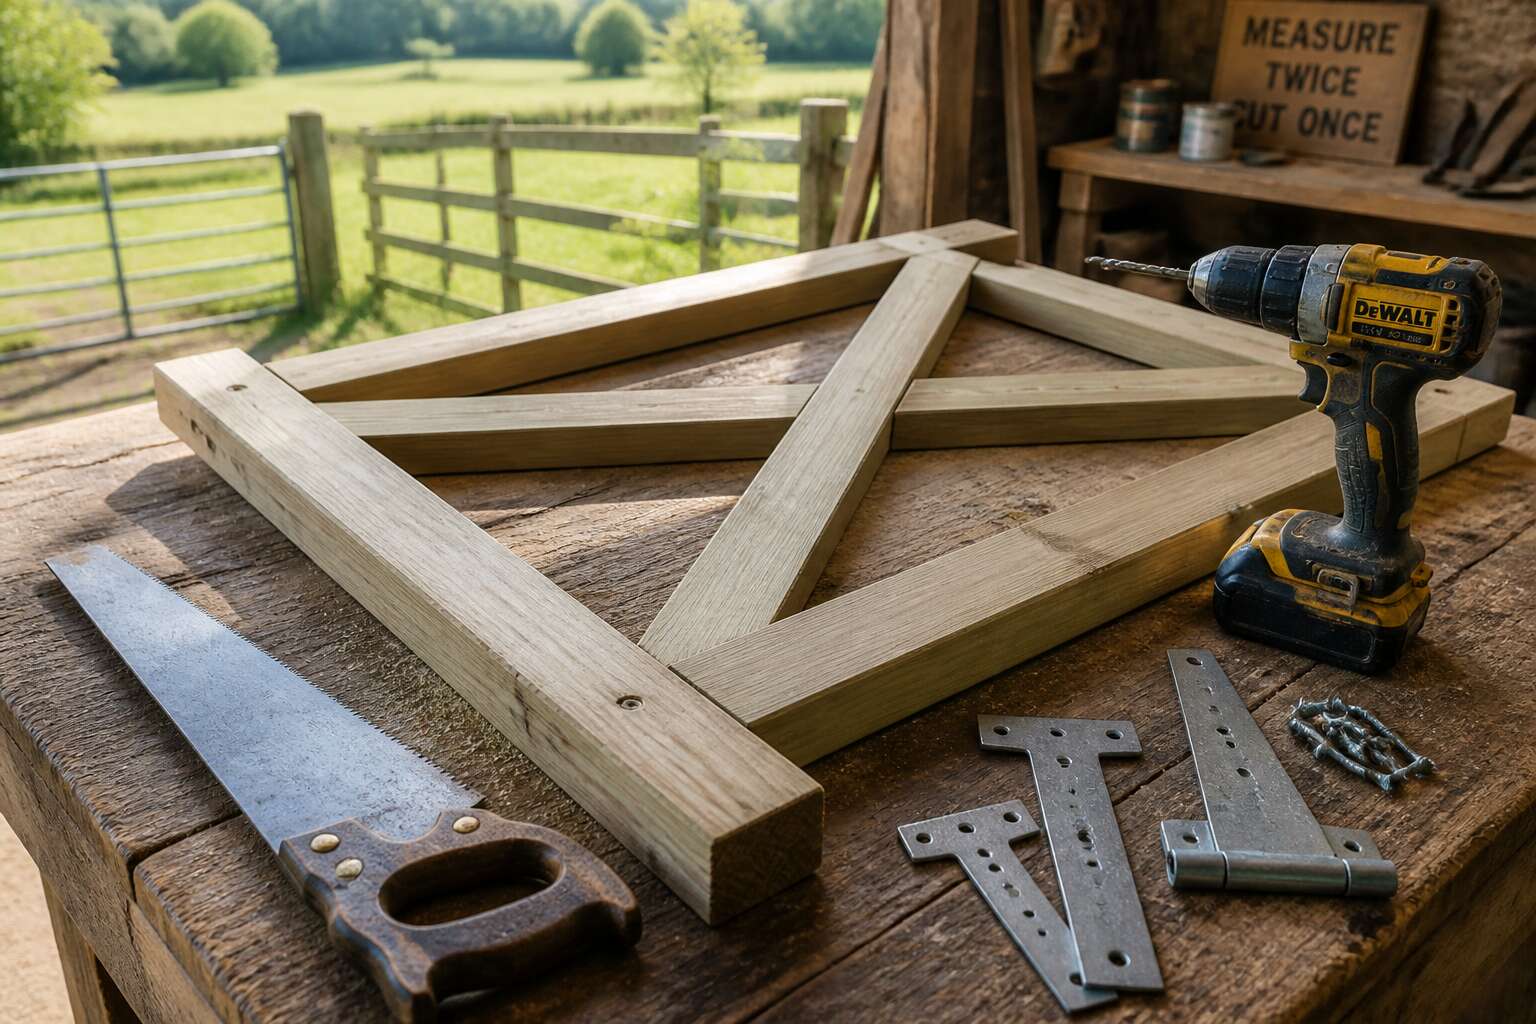
The frame is where most gate projects succeed or fail. I have seen sturdy hinges ruined by a twisted rectangle. Before cutting, check the diagonal measurements. This prevents a parallelogram that will sag within a season.
- Four lengths of 50mm square tubing
- Two corner gussets
- One brace bar
Lay the rails on a flat surface. Tack weld the corners, then recheck the diagonals. Adjust with a mallet before a full weld. This step is tedious but essential! The brace runs from the top hinge corner to the bottom latch corner. Done right, the frame stays true for years. Learning how to build farm gates starts with this patient, precise work.
Hanging and Mounting the Farm Gate
Hanging a farm gate is where patience earns its keep. I always check the hinge post for plumb first, since even a small lean throws everything off. Mounting the gate level is the next step, but don’t overtighten the bolts. You want the gate to swing freely without dragging.
A simple checklist helps me stay organised:
- check hinge alignment
- set the gate height with a spirit level
- secure the latch post last
For heavier gates, use a temporary prop under the outer rail to take the strain while you work.
This process is central to how to build farm gates properly. The satisfaction comes when the gate swings shut with a clean clunk.
Finishing and Maintenance for Longevity
After you master how to build farm gates, the real work begins. Finishing and maintenance decide how many seasons your gate survives. A quality coat of rust-inhibiting primer and enamel paint shields steel from Highveld storms and coastal salt. For timber, use a penetrating oil rather than a surface film. That allows the wood to breathe and stay flexible.
Check hinges quarterly. Tighten loose bolts. Watch for sagging at the latch side. Here is a simple routine that takes ten minutes:
- Clean the track and pivot points with a stiff brush.
- Apply a lithium grease to moving pins.
- Touch up any bare metal or chipped paint immediately.
That routine, plus prompt repairs, extends your gate’s lifespan. A gate that swings freely today will last decades. Ignore it for one wet season, and you will likely start over.



0 Comments